How Do You Address Issues Such as Warping or Uneven Drying in Wheel-Thrown Pottery?
Share
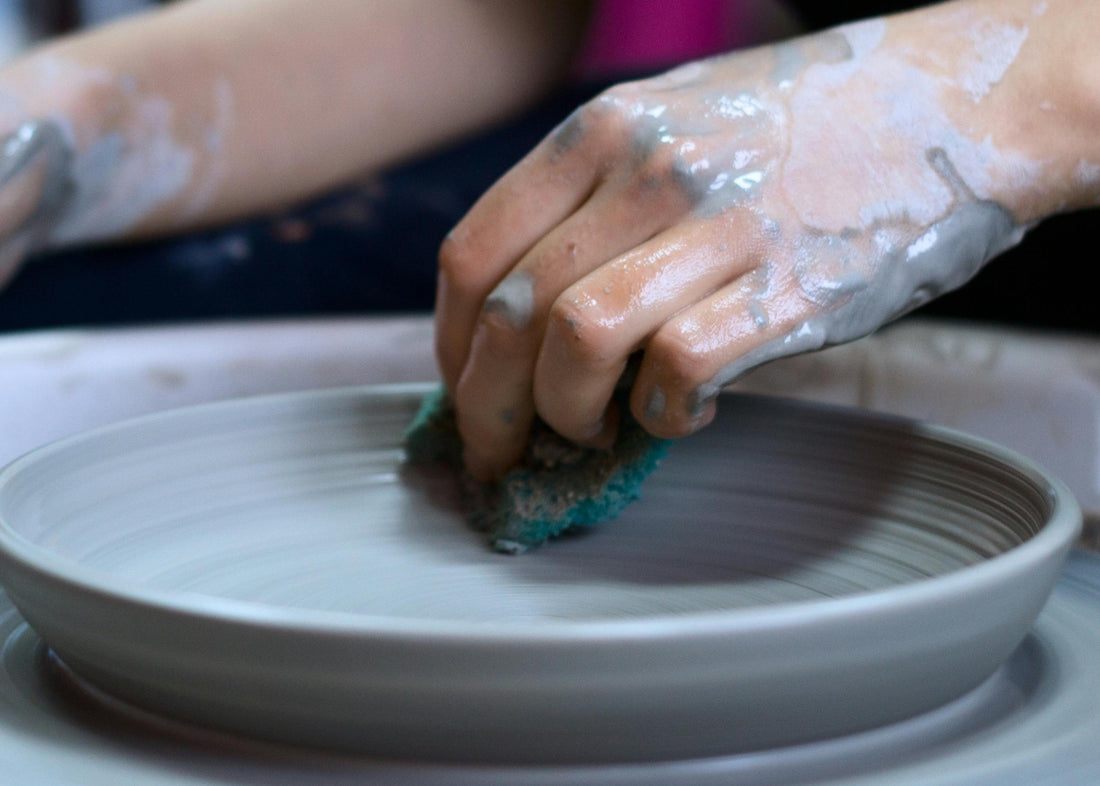
When it comes to ceramics, few experiences are as rewarding as creating a piece of pottery from start to finish on the wheel. The satisfaction of pulling a lump of clay into a balanced, symmetrical vessel is unmatched. Yet, even for skilled potters, challenges like warping or uneven drying can quickly turn a promising creation into a source of frustration.
At The Pottery Hut, our family-owned pottery studio in Mississauga, Ontario, we often see beginners and even experienced potters encounter these common issues. That’s why in our adult pottery classes—whether single sessions, 4-week courses, or 8-week programs—we emphasize not only how to throw clay but also how to manage drying and finishing so your pieces survive the process from wheel to kiln.
This blog will explore what causes warping and uneven drying, how to prevent these problems, and how to address them when they arise. By the end, you’ll have a practical toolkit for keeping your pottery strong, stable, and beautiful.
⸻
Why Warping and Uneven Drying Happen
Pottery is as much a science as it is an art. While shaping clay feels intuitive and creative, clay also has specific physical and chemical properties that dictate how it behaves. Understanding these properties is key to addressing problems.
1. Moisture Content
Clay shrinks as it dries. If one part of a piece dries faster than another, uneven shrinkage can cause warping or cracking.
2. Clay Thickness
Pieces that have uneven wall thicknesses dry at different rates, creating stress.
3. Airflow
Pottery exposed to direct airflow (like being near a fan or vent) dries unevenly, leading to distortion.
4. Clay Body Choice
Some clay bodies are more prone to warping than others. Porcelain, for instance, can be finicky.
5. Handling and Trimming
Excessive handling or trimming a piece when it’s too wet or too dry can weaken its structure.
By identifying the causes, you can take steps to prevent these problems before they ruin your hard work.
⸻
Common Types of Warping
Warping can take many forms, but here are the ones most potters encounter:
• Lip Warping: The rim of a bowl or cup becomes wavy instead of staying circular.
• Base Warping: The bottom of a plate or bowl curves upward or downward.
• Handle Warping: Handles on mugs twist or pull away as they dry unevenly.
• Overall Distortion: The whole piece leans or slumps instead of holding its form.
At The Pottery Hut, these are common learning moments for students in our adult pottery classes—and every mistake is an opportunity to refine technique.
⸻
Preventing Uneven Drying
The best way to deal with warping is to prevent it in the first place. Here are strategies to keep in mind:
1. Control Drying Speed
• Cover your piece loosely with plastic to slow down evaporation.
• Use damp cloths or towels to even out moisture.
• Avoid placing pieces near vents, heaters, or direct sunlight.
2. Dry Pieces Evenly
• Flip flat pieces like plates or slabs periodically during drying.
• Rotate pieces on bats to prevent one side from drying faster.
3. Keep Wall Thickness Consistent
• While throwing, pay close attention to creating even walls.
• Use calipers or your fingers to check thickness as you pull the clay.
4. Trim at the Right Time
• Trim pieces when they are leather-hard: firm enough to hold shape but still soft enough to carve.
• Trimming too wet leads to collapse, while trimming too dry increases stress.
5. Use Bat Boards and Drying Surfaces
• Dry pots on porous boards (like plaster or wood) to wick moisture evenly.
• For delicate pieces, foam-lined boards reduce stress on rims and bases.
⸻
Fixing Uneven Drying and Warping Issues
Even with careful planning, problems sometimes arise. Here are methods to address them:
1. Rehydrate Slowly
If one section of your pot is drying too fast:
• Cover the dry section with a damp cloth, then wrap the entire piece loosely in plastic.
• Allow moisture to redistribute evenly overnight.
2. Reinforce with Coils or Slabs
For rims or lips that warp, you can sometimes add a small coil of clay and blend it in to stabilize the form. This works best when the piece is still leather-hard.
3. Weighted Drying
Place light weights (like small bags of sand or beans) on warped bases to encourage them to flatten as they finish drying.
4. Alteration into Design
Sometimes warping can’t be fixed—but it can be embraced. Many potters intentionally turn warped rims into organic, wavy designs that give character to their ceramics.
5. Learning When to Recycle Clay
Not every piece can be saved. If a piece is too warped, it’s okay to reclaim the clay and start over. Every attempt improves your technique.
⸻
Studio Tips for Managing Drying
At The Pottery Hut, we use systems to keep student work safe as it dries:
• Shelving with Plastic Curtains: Allows us to control airflow.
• Labeling and Rotation: Ensures each student’s piece gets even drying time.
• Instructor Guidance: Teachers check pieces during class to catch problems early.
These are practices you can replicate at home or appreciate when taking classes in a structured studio environment.
⸻
The Science of Clay Shrinkage
To understand drying better, it’s helpful to know that clay shrinks in two phases:
1. Drying Shrinkage: As water evaporates, clay particles pack closer together.
2. Firing Shrinkage: When fired, chemical water is released, and particles fuse.
The total shrinkage can be anywhere from 8% to 15%, depending on the clay body. Uneven drying exaggerates these natural shrinkage processes, leading to cracks and warps.
⸻
Warping in Different Forms
Different pottery forms present unique challenges:
• Bowls and Cups: Prone to rim warping—cover rims with plastic or dry upside down.
• Plates: Bases warp easily—dry on plaster bats and flip regularly.
• Mugs with Handles: Handles often crack or warp—wrap handles with plastic to slow drying.
• Large Pieces: The bigger the piece, the greater the risk. Dry slowly and evenly.
These tips are reinforced in our 4-week and 8-week pottery classes, where students work on progressively more complex forms.
⸻
Addressing Warping After Bisque Firing
If a piece makes it through drying but warps slightly in the bisque firing, there are limited fixes:
• Grinding: For bases that rock, you can grind them flat with a diamond pad.
• Sandpaper Adjustments: Smooth uneven rims before glazing.
• Accepting the Quirk: Many potters embrace minor warps as part of handmade charm.
⸻
Glazing and Warping
Glazing introduces its own set of challenges:
• Uneven glaze application can emphasize warping.
• Heavy glaze layers may pull or pool, exaggerating distortions.
• Using stable glaze recipes helps minimize added stress.
In our adult pottery classes, we teach students how to apply glaze evenly, minimizing risks.
⸻
Mindset: Mistakes as Part of the Process
Pottery teaches patience and resilience. At some point, every potter deals with a collapsed rim, a warped plate, or an uneven mug handle. Instead of seeing these as failures, think of them as lessons in clay’s personality.
At The Pottery Hut, we encourage our students to keep experimenting, because each attempt builds muscle memory and understanding.
⸻
How Memberships Help You Improve
One of the best ways to master issues like warping and uneven drying is through repetition and practice. Our studio memberships give potters the chance to:
• Practice on their own schedule.
• Use professional drying and storage setups.
• Get advice from instructors even outside class.
• Work in a community that understands and shares these challenges.
Combining classes with a membership is often the fastest way to improve at ceramics.
⸻
Tips for Beginners vs. Intermediate Potters
• Beginners: Focus on even wall thickness and covering pieces as they dry. Don’t rush the process.
• Intermediate Potters: Experiment with larger forms and learn how to adjust drying speed with controlled environments.
Our single classes introduce beginners to these concepts, while our multi-week courses allow deeper exploration.
⸻
Why Choose The Pottery Hut in Mississauga
There are many ways to learn pottery, but at The Pottery Hut, we combine technical instruction with a welcoming, family-owned atmosphere. Students benefit from:
• Clear instruction on how to prevent issues like warping.
• Studio systems that protect pieces during drying.
• Access to equipment and memberships that support growth.
• A supportive community where mistakes are part of the journey.
Whether you’re new to ceramics or building your skillset, our studio is designed to make learning enjoyable and rewarding.
⸻
Final Thoughts
Warping and uneven drying are some of the most common—and frustrating—challenges in pottery. But with patience, proper techniques, and an understanding of clay’s behavior, you can minimize these issues and even turn them into creative opportunities.
At The Pottery Hut in Mississauga, Ontario, we help students and members navigate these challenges every day. From your first pinch pot in a single class to advanced wheel-throwing projects in an 8-week course, we’re here to guide you through the joys and frustrations of ceramics.
If you’re ready to learn not just how to throw clay but also how to finish strong, consider joining us for a class or membership. With the right knowledge and community, your pottery can thrive—without warping along the way.